Sunday, March 9, 2014

Project "Dread"

3/12/2014

She's done! Finish the image and a test print check it it glows in the dark and by golly it does!


 ... yeah, so I didn't have a night camera, but the poster looks really awesome in real life!


3/11/2014

Project Dread is coming along. Render in green to get and idea what it'll it look like when it's glowing.


3/10/2014

My latest project for Bottleneck's glow-in-the-dark (GID) show; Metroid! Here is my rough sketch of my composition. It'll be interesting as I render this as a black and white image as well as figuring out how to maximize the GID spaces of the paper.


Don't forget to read "how to create GID printing paper" from my previous post.

Saturday, March 8, 2014

Glow-in-the-dark printer paper

3/8/2014

Currently in the industry I haven't found a glow-in-the-dark (GID) paper for my inkjet printer (or any inkjet printers for that matter), and I needed to create an image that would GID for an upcoming exhibit. Screen printing with photo emulsion was probably my best bet, but after spending a lot of money, headaches, disappointment and desperation, I had an inspiration; why not use the screen printer to put a flat coating of GID paint onto my printer paper. Will it work? We are about to find out.

First off, you'll need the following materials:
- glow-in-the-dark (GID) paint (I used Lukas Cyrl Studio #4607)
- Kyrlon Easy-Tack
- Kyrlon Crystal Clear
- Xacto Knife
- Hot Iron
- screen print frame
- flat smooth surface (I used plexiglass)
- squeegee
- damp paper towel
- hair dryer
- printer paper
- spray bottle of water
- newsprint paper

Second, you will need to create a black and white only image. I've tried color and failed miserably.

I use an Epson 1400 inkjet printer and 44lb matte paper so depending what you use at home, your results may vary.

1.) OK first we need to create the GID paper. Setup your screen frame and place your printer paper on smooth surface. Kyrlon Easy-Tack will help keep the paper flat when we apply the paint (I said "help" not "will", you'll still get some wrinkles which we'll take care of later).

2.) Next we apply the paint onto paper. There are many youtube videos on how to apply screen print paint and I do recommend you watch them, but basically you want to lift up the frame off the paper, run the paint through with the squeegee to "charge" the screen, then place the screen on top of the paper and run it through again. You'll get an even coat this way. Note, the edges of the paint run will always be imperfect so you are going to have the trim the paper when it drys. Expect about 3/4 of inch all around you'll lose.


3. Drying and flatting the paper is the next process. If you are doing multiple prints, you want to keep the screen moist since we are using acrylic paint. Take and damp paper towel and place it on top of the screen when not in use.


Next, take the paper and use the hair dryer and dry the paint on the paper. You'll have some lumps, but we'll fix that later.

Take two pieces of newsprint paper and sandwich your GID paper in between. Make sure the painted side lays face down as we do not want direct contact with the hot iron we are going to use. Take the spray bottle and indirectly spray the top newsprint. Now take your hot iron and run across the top nice an slow; the water droplets will work as steam and will flatten your GID paper wrinkles. Don't worry if the edges stick to the newsprint as we will trim the paper.


Trim the GID paper to appropriate printing size. I took a 13"x 19" paper and trimmed it to 8.5" x ll" letter size.


Print your image on "plain paper" setting. Using high resolution settings, such a presentation matte or gloss will make your image bleed. Careful not to touch the ink when it's completed as it will smear. Do a quick heat blast with your hair dryer. You'll also want it to air dry bout half the day (direct sunlight will help the process as well as charge the glow material). Finally, us Crystal Clear and gradually put coats to seal the image.


 If it all works out, you should have something like this at the end.


Because the inks were especial formulated for the paper, I've attached my color test to show you it is not possible and color will only bleed. Thus you want to design a simple black and white image for this project.


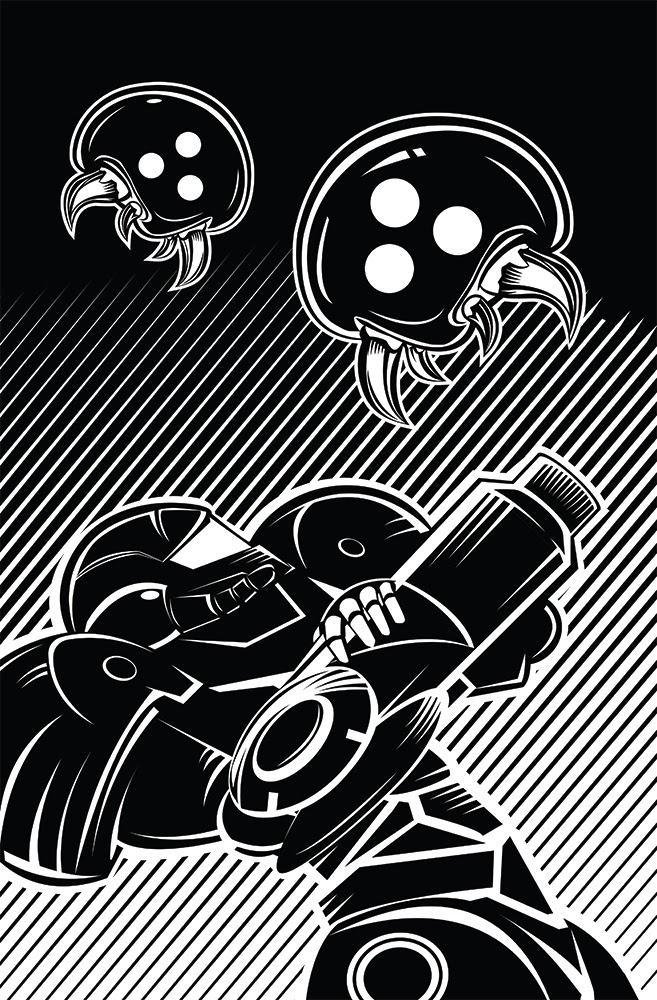
The previous image was a quick test and yes it is Metroid. While this is not the final piece (just a warmup folks), Metroid will be the next theme I'll be illustrating for the Bottleneck Gallery's "When the Lights Go Out" show in the coming weeks.

Till then, have fun!

Friday, February 7, 2014

My work being shown in NYC!


Hi guys! If you're around Brooklyn, stop by at the Bottleneck Gallery for the "It Came From 1984" show. The show is from Feb 7-24 with reception being tonight! Stop by, relive the 80's, and buy yourself one of a kind artwork!

Wednesday, January 29, 2014

Castlevania: Order of Ecclesia

2/17/2014

Flushed out the wing demon and axe knight. A few more adjustments and this piece is done!


2/14/2014
Started to render the foreground characters. Going to be interesting in terms of color choice, focus should be on Shanoa (female character) and balancing the color value of the foreground (light objects tendency to come forward, while dark objects recede toward the back). There should be details on the monsters to define features, but not so much as to take the viewer's eye from the main character (Shanoa).


2/13/2014

It's 1:12 AM and a blizzard is rolling in my neighborhood; Arragh! Developed the main character about 80%. Most artist typically block in the composition, but I prefer to develop the main character as a "base" that sets the tone, color, and feel of the piece.


2/7/2014

Two and a half days without electricity is no fun. Finally do some work on the Castlevania project; a little bit on the background and some minor additions to the main character.


2/3/2014

In the process of blocking in image in Adobe Illustrator. I usually try to develop the main charcter as much as I can before are start blocking all my other elements in the composition because I believe my focal point (which is the main character) sets the tone how I should handle the render of the surrounding background and supporting characters.


1/31/2014

A little different from what I'm use to doing, but it was an interesting experiment drawing primary with Photoshop. I decided to do a simple color study to establish the feel for the piece. Nice contrast between warm and cool colors.


1/29/2014

Here's a ongoing rough sketch. I've decided to do something a bit different. Usually I do my "refined" sketch using pencil and paper, but this time I wanted to see how far I could go drawing on Photoshop.

Just used a simple soft brush at 50% opacity with the opacity button checked on the right. I like to just block in my image without going into too great of detail as when I do the vector rendering, things have a tendancy to change. Planning to put monsters and bats to active the empty space. Might even open up to have more of the outdoor elements become more predominate.


1/29/2014

Finally started on a new project; Castlevania: Order of Ecclesia.


Had to do a lot research on this project; I'm amaze how large this franchise has gotten.

Tuesday, December 31, 2013

Searching for a Certain Starfleet Vulcan

Jan 1, 2014

Happy New Year everyone! Just finished my "Search for Comrade Spock" illustration. Enjoy!


Dec 31, 2013

Hi-O! Sorry I haven't been keeping busy with art lately (I feel so ashamed). Nonetheless, here's an update on a project I'm working on. Star Trek III: Search for Spock. I'm doing this in a propaganda style poster. I'd say I'm half way through with the image; just need to focus on the starships and we are ready to go were no poster has gone before (or something like that).